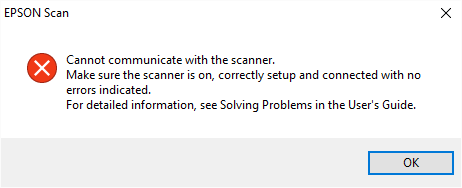
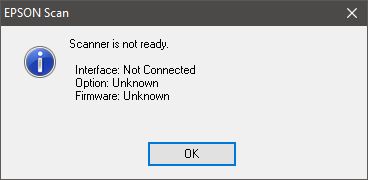
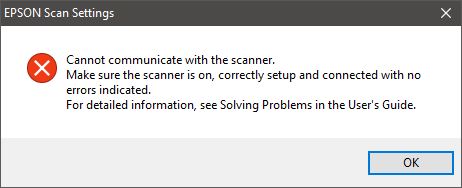
Epson Scan displays the error "Cannot communicate with the scanner"
If Epson scan fails to communicate with the scanner you will see the below error:
Epson Scan can be used to scan via USB and via a wireless or wired network.
Expand the section below related to the connection method required.
|
Epson Scan by default is set up for scanning locally via USB. |
USB
- Open Epson Scan Settings.
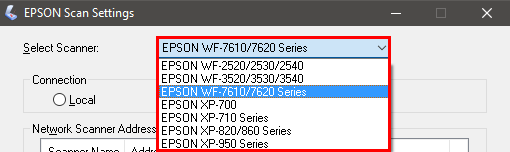
- Select your product from the drop-down list.
 Note:
Note:If your product does not show in the drop down list, download and install the Epson Scan software for your device from the Epson website.
- Click the Test button.
Successful Test Unsuccessful Test 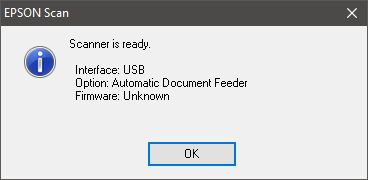
- Expand the relevant section below for further instructions.
Successful Test
- Click OK.
- Click OK to close Epson Scan Settings.
- Your product is now ready to scan via USB.
Unsuccessful Test
If the test was unsuccessful follow the steps below, after each step perform a new test:
- Check the product is powered on.
If the product will not power on, try the following:
- Ensure the power is plugged directly into a wall outlet and not an extension cable.
- Try a different power cable.
- Unplug the USB cable and reconnect the USB cable to both the PC / Mac and the product.
- Try a different USB cable.
- In the Windows Device Manager ensure your scanner’s name appears under Imaging Devices without a question (?) mark, exclamation (!) mark or a red X. If the scanner appears with one of these marks or as an unknown device, uninstall Epson Scan and then reinstall it.
Network
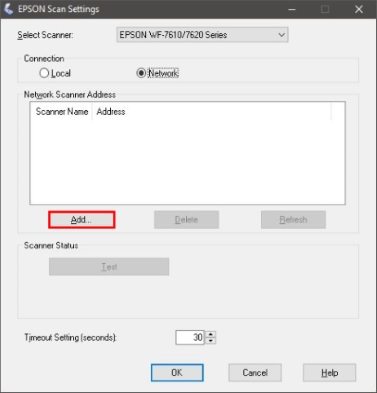
- Open Epson Scan Settings.
- Select your product from the drop-down list.
Note:
If your product does not show in the drop down list, download and install the Epson Scan software for your device from the Epson website.
- Set Connection Type to Network.

- Click Add.
- Click the IP address in the list and click OK.
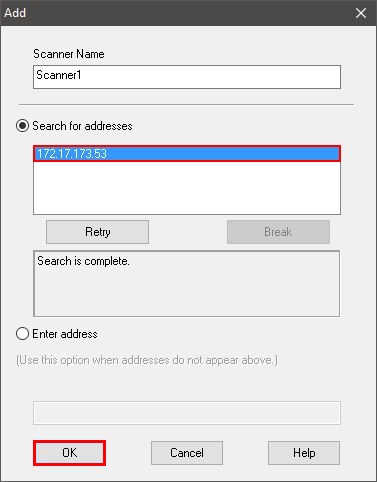 Note:
Note:If the IP address is not shown in the list click Enter Address.
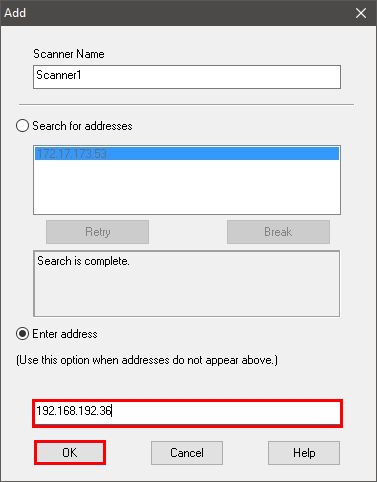
- Type in the IP address of the product.
- Click OK.
- Click Test.
Successful Test Unsuccessful Test 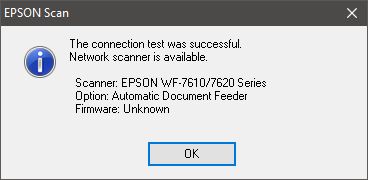
- Expand the relevant section below for further instructions.
If the Test is Successful
- Click OK.
- Click OK to close Epson Scan Settings.
- Your product is now ready to scan wirelessly.
If the Test is Unsuccessful
- Click OK.
- Ensure the product is powered on.
- Print a Wi-Fi Status sheet or check the scanner's network settings to verify the following information:
- Confirm if using Wi-Fi that both devices are connected to the same network SSID.
- Confirm the correct IP address for the product is listed in the scanner list.
- Click Test.