Pro Displays: What is Color Calibration and how do I use it?
Relates to:
- EB-L1000U / EB-L1100U / EB-L1105U / EB-L1200U / EB-L1300U / EB-L1405U
- EB-L1500U / EB-L1505U
- EB-L1510S / EB-L1515S / EB-L1710S / EB-L1715S
- EB-L1500UH / EB-L1505UH / EB-L1750U / EB-L1755U
- EB-L12000Q / EB-L12002Q / EB-L20000U / EB-L20002U
- EB-L25000U / EB-L30000U / EB-L30002U
- EB-PU1006W / EB-PU1007B / EB-PU1007W / EB-PU1008B / EB-PU1008W
- EB-PU2010W / EB-PU2010B
- EB-PU2220B / EB-PU2120W
- EB-PU2216B / EB-PU2116W / EB-PU2213B / EB-PU2113W
Information
Color (or Colour) Calibration is a function available on high brightness / professional display projectors.
This function is part of the ongoing image maintenance for this projector series, its function is to automatically adjusts aging deterioration of the color tone for the whole screen based on the default color settings.
It is particularly important to note that image deterioration is normal over time and use of a projector, this function enables the user to quickly improve any color tone image quality.
Operating Conditions for auto adjustment functions
The auto adjustment function for Color Calibration works under the following conditions:
- The screen surface is flat and not skewed or warped.
- Using a matte white diffusion screen.
- The projection size is 80 to 200 inches.
- The projector is setup parallel to the projection surface.
- The projector firmware is up to date (see the EPSON support site for the latest versions available).
|
Performing Color Calibration
The adjustment pattern is displayed, and the adjustment sequence starts. Once the color calibration sequence has been completed succesfully, it will return to the original source image.
- Press the [Menu] button while projecting.
-
Select Color Calibration from the Extended menu.

- Select Start Auto Adjustment, and then start the Color Calibration function
|
Scheduling Color Calibration
For fixed installations, it is recommended that the color calibration function is carried out as part of a schedule, the frequency can be set depending on the operating time of the projector. For example, if the projector is projecting 8 hours a day, set the schedule function to perform the calibration every evening after that 8 hour period.
- Press the [Menu] button while projecting.
- Select Schedule Settings from the Extended menu
- Select Add New from the Extended Schedule.
- Select the Color Calibration operation.
- Set the date, day of the week, and the time to execute the event. You can set up to four weeks of schedules.
- Select Save, and then press the Enter button the remote.
- Select Setup Complete, and then select Yes to complete the schedule setup.
Limitations of use
Certain combinations of projectors and lens types cannot perform color calibration, see the table below for information:
| Product Name | Unapplicable option lens |
|---|---|
| EB-L25000U / EB-L30000U / EB-L30002U | ELPLR05 / ELPLL09 / ELPLL10 |
| EB-L1000U / EB-L1100U / EB-L1105U / EB-L1200U / EB-L1300U / EB-L1405U | ELPLR04 / ELPLL07 / ELPLL08 / ELPLM07 / ELPLM11 |
| EB-L1500U / EB-L1505U | ELPLR04 / ELPLL07 / ELPLL08 |
|
EB-L1490U / EB-L1495U EB-L1500UH / EB-L1505UH EB-L1510S / EB-L1515S / EB-L1710S / EB-L1715S EB-L1750U / EB-L1755U |
ELPLR04 / ELPLL07 / ELPLL08 |
|
EB-L12000Q / EB-L12002Q EB-L20000U / EB-L20002U |
ELPLR04 |
|
EB-PU1006W / EB-PU1007B / EB-PU1007W EB-PU1008B / EB-PU1008W |
ELPLR04 / ELPLL07 / ELPLL08 / ELPLM07 / ELPLM11 |
| EB-PU2010B / EB-PU2010W | ELPLR04 / ELPLL07 / ELPLL08 |
| EB-PU2120W / EB-PU2220B / EB-PU2116W / EB-PU2216B / EB-PU2113W / EB-PU2213B | ELPLL08 |
|
When using EB-PU series or ultra-short throw lens, such as ELPLX01S, ELPLX02S, ELPLX03, it is necessary to install the optional external camera: ELPEC01. Please refer to the user’s guide for ELPEC01 to install the camera. |
Troubleshooting - Auto Adjustment Failed Errors
In the event that the auto color calibration function has failed, please ensure that you are meeting the specifications mentioned previously in this article, or follow the steps below.
Have at least 20 minutes passed since the power was turned on?
Auto adjustment does not work correctly until the temperature of the projector is stable. Perform auto adjustment 20 minutes after turning on the projector or canceling A/V Mute.
Does the Lens Type selected and the lens installed match?
When using the following lenses, check that the Lens Type and the lens being used match. If a different lens is selected, auto adjustment does not work correctly.
ELPLS04, ELPLU02, ELPLW04, ELPLM06, ELPLM07
Extended - Operation - Advanced - Lens Type
Is the cover of the built-in camera clean?
Make sure that the cover of the built-in camera is clean. Clean the cover if it is dirty and ensure that the camera can see the full projected image.
Is an analog signal being input?
When an analog signal is input, the color and brightness of the image changes, and the result of adjustment may not be applied correctly.
Has the image been corrected using Geometry Correction?
Auto adjustment may not work for images corrected using Geometry Correction. Set Geometry Correction to Off or reduce the correction range.
Is the brightness of the surroundings appropriate?
If a powerful spotlight or natural ambient light shines into the area during auto adjustment, the brightness of the surroundings changes and auto adjustment does not operate correctly. Make sure the brightness of the surroundings does not change.
Is Multi-projection Edge blending in use?
Color Calibration is when you are calibrating a single projector, when using Edge blending with multiple projectors, use the Screen Matching function.
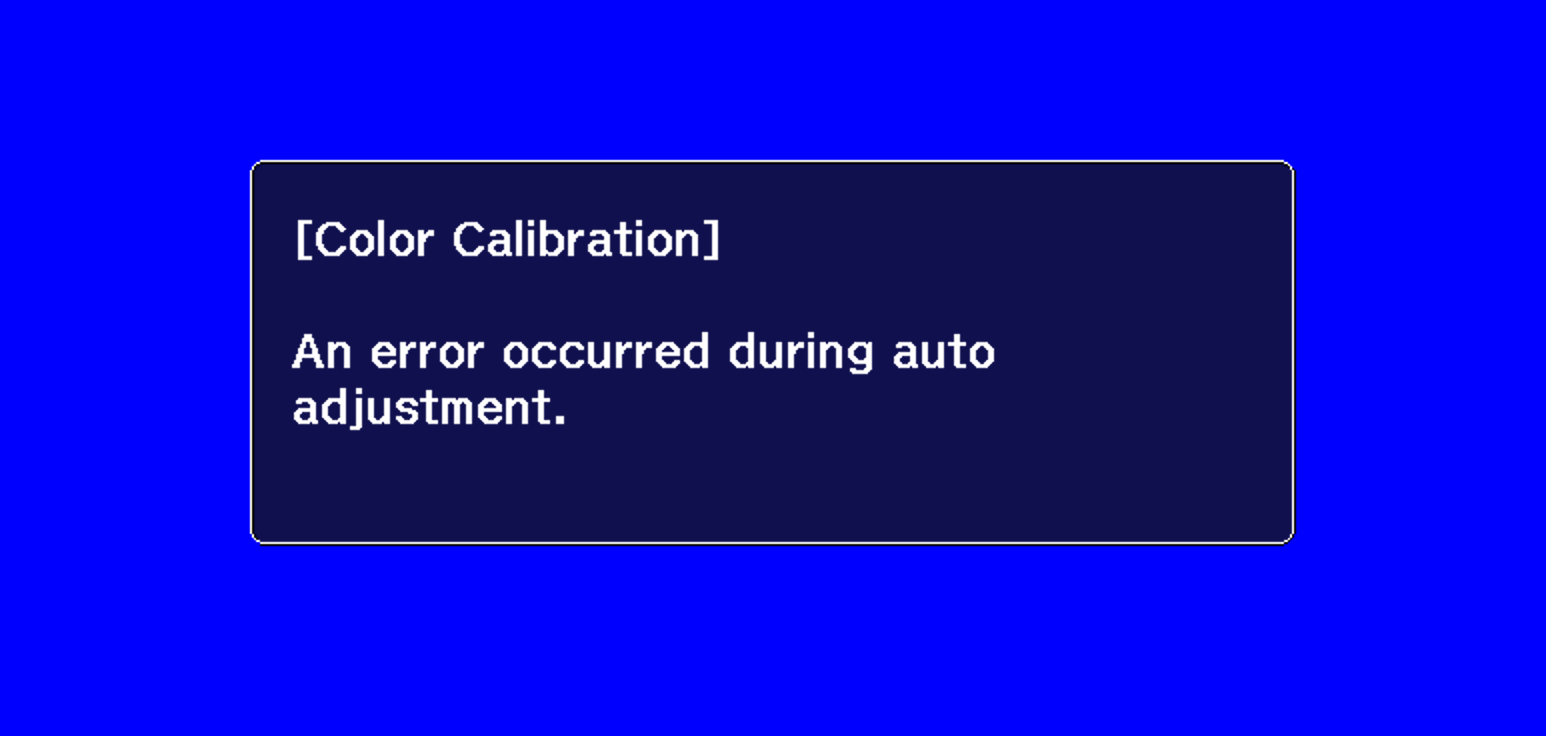
Is the message "An error occurred during auto adjustment." displayed?
There are three main error code displayed when the above message appears:
- Measurement value error 0201: Certain color values read by the camera are unknown or out of bounds/specification.
- Measurement failure 0202: The projector camera was unable to read the color patterns.
- Switch camera failure 0203: The projector has two cameras, this error can occur if it was unable to switch between the two cameras during the color calibration measurement.
Troubleshooting steps for each of the three main errors include what has been previously mentioned in this article e.g. cleaning the camera, ensuring image size is correct...