How to remove an Apple AirPrint driver and install an Epson printer driver on macOS
Automatic AirPint Addition: When connecting an Epson printer to your Mac for the first time, an AirPrint printer may be automatically added. However, this limits the available printing settings.
Epson’s Recommendation: Epson recommends installing the Epson-supplied driver, which can be downloaded from the official Epson websites.
Printer Driver Removal:
Follow the steps below to remove the AirPrint driver so that the Epson driver can be installed. You can use the below steps to also remove other instances of the printer drivers (including previously installed Epson drivers).
- Click the
 Apple Menu at the
top left of the screen.
Apple Menu at the
top left of the screen. - Click System Settings.

- Select Printers & Scanners.

- Click on the printer shown and press the Remove Printer button.
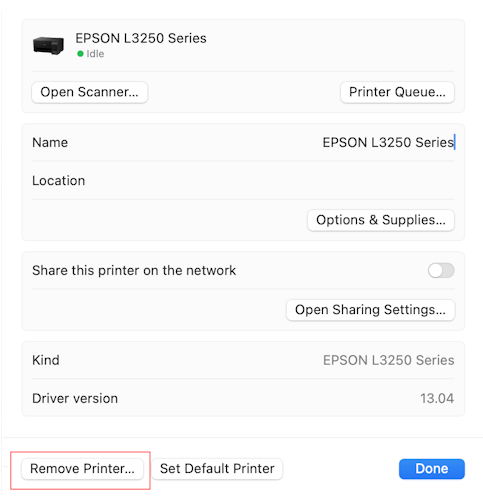
- Please remove all instances of the printer driver. Repeat these steps to remove all instances of the printer driver. This ensures the correct printer driver selection when printing from different applications.
Epson Printer Driver Installation:
- Once the printer(s) has/have been removed, click here to download the driver.
- Follow the on-screen instructions to install the printer driver.
- Once the driver has installed, click the Apple Menu in the top left of the screen.
- Click System Preferences, then select Printers & Scanners.
-
Click the Add Printer, Scanner, or Fax button.

- In the Add Printer window, select your printer from the list (avoid selecting the AirPrint printer if shown).
- Make sure the Printer is listed as Bonjour (for Wi-Fi) or USB (for USB connection).
- Make sure the "Name" shows as Epson XXXXX series (where XXXX is you printer model).
- Make sure the "Use" shows as Epson XXXXX series (where XXXX is you printer model).

- Click Add to finish the installation.

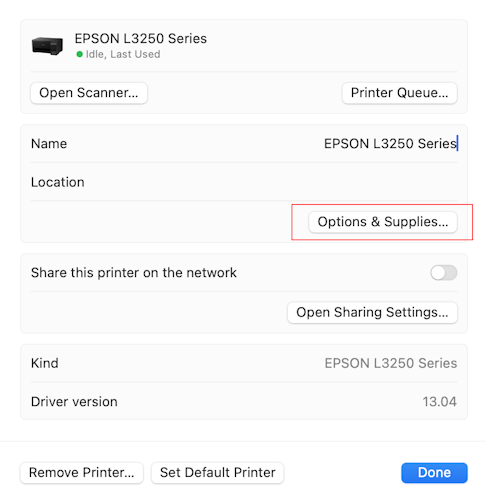
- To test the printer, click on the installed Printer and then press the 'Options & Supplies' button.
- Select the Utility tab.

- Select the Print Test Page button.
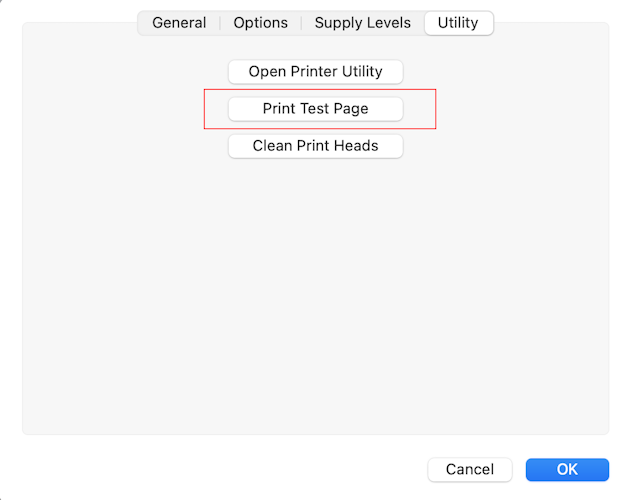
-
A test page will be printed.