How to install an Epson printer driver using the Apple Software Updater in macOS
This article explains how to install your Epson printer using the Apple Software Update tool:
-
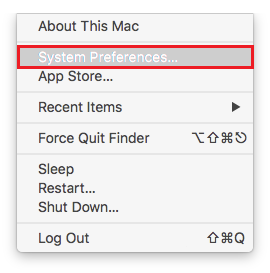
Click the
 Apple menu and select System Preferences.
-
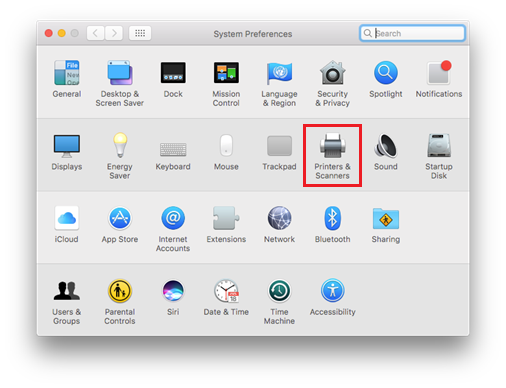
Click Printers & Scanners.
-
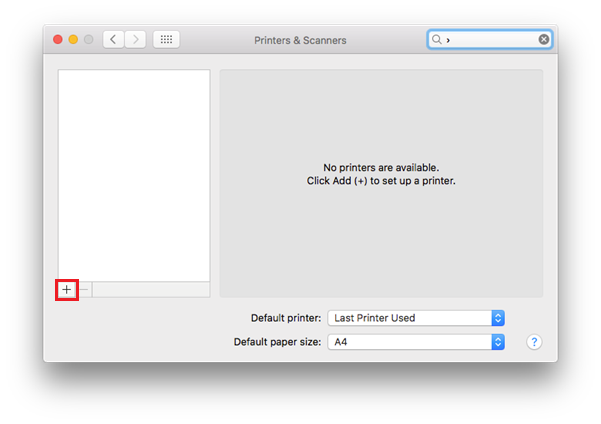
Printers & Scanners will appear blank if you have no other printers installed. Click the
 button to start adding a printer.
-
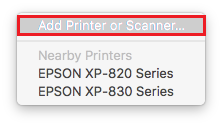
Select Add Printer or Scanner.
-
Select the printer you would like to install and click on the Use drop down menu to select the printer driver.
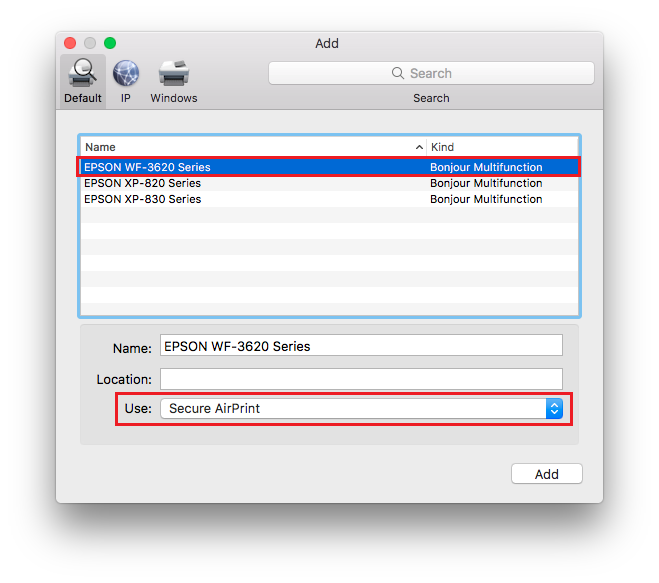
 Note:
Note:Epson recommend using the correct driver for your product. If the Secure AirPrint driver is selected this may limit the functions of your printer.
-
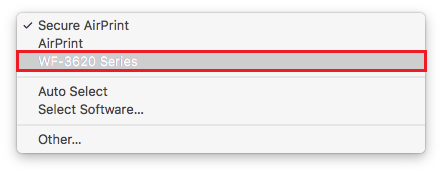
Select the name of your printer in the Use drop down menu.
-
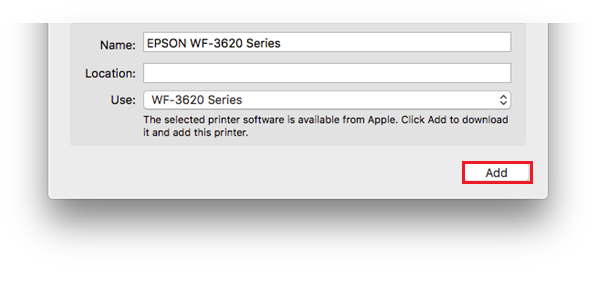
Click Add to install the printer driver.
-
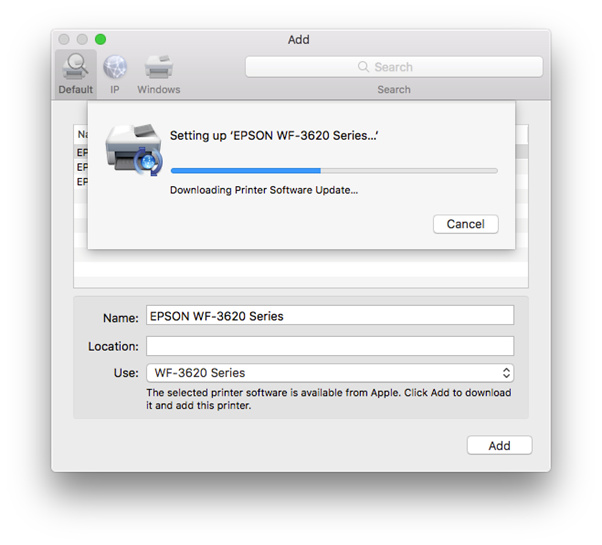
The printer driver will be downloaded and installed.
-
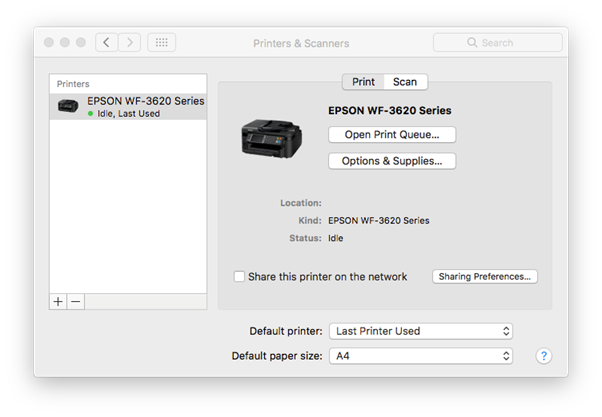
When the printer drivers are installed you will see the below screen with the printer installed and ready to use.
- A test page can be printed from the driver to ensure the printer is correctly installed, click here for further instructions.