What are the features of Epson Scan 2?
Epson Scan 2 is the scanner software bundled with compatible Epson scanner units. This is inclusive of All-in-One products and includes several features to simplify and increase productivity.
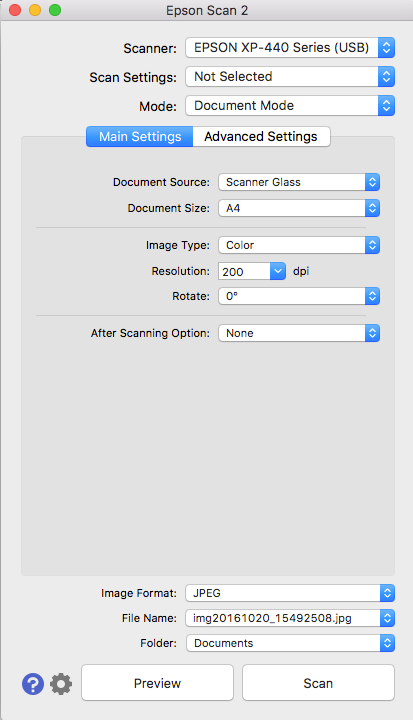
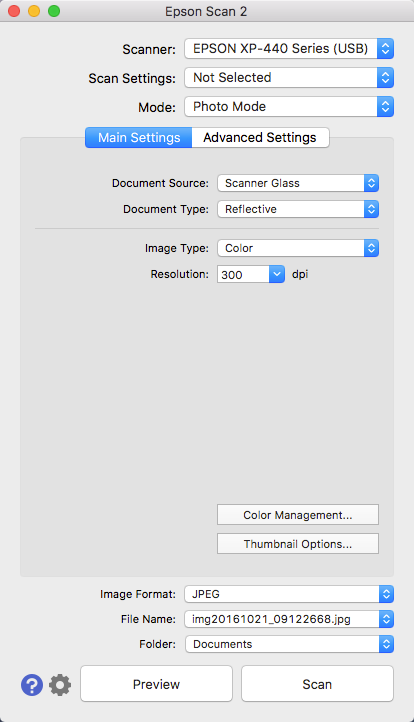
The menu options seen in the picture are explained further within the available selections provided below.
Select an option from the list below to learn more.
Scanner:
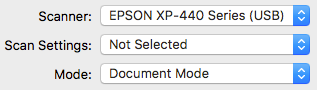
Clicking the Scanner menu will list all the installed products which are compatible with Epson Scan 2.
A Settings option is also included, this opens the Scanner Settings window.
Refer to the Scanner Settings section of this article for more information.
Scan Settings:
Scan Settings allows you to select from a number of preset settings for different document types.
It also allows you to create your own presets by saving your current settings.
Follow the steps below to make your own presets:
- Select Save Current Settings from the Scan Settings drop down menu.
- Type a name for the preset and click Save.
- The preset will now appear in the Scan Settings drop down menu.
To remove a custom preset:
- Select Delete Settings from the Scan Settings drop down menu.
- Select the preset you want to delete.
- Press Delete.
- Click Yes in the confirmation box.
Mode:
Mode allows you to select between Document and Photo Modes.
Each mode allows you to edit settings relevant to the mode selected.
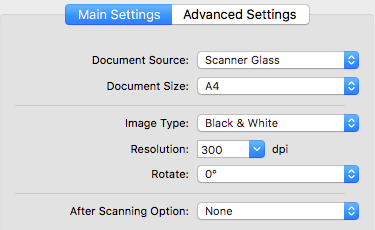
Document Mode
After Scanning Option:
None - The document saves to the selected folder
Add Page - When completing a scan you will presented with the following dialogue box.

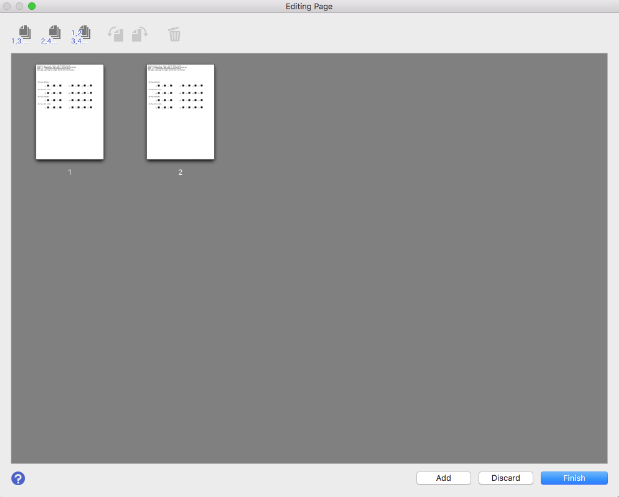
Add or Edit Page
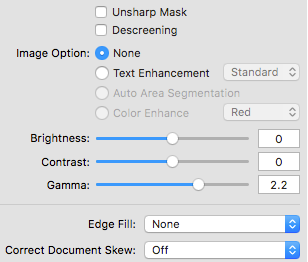
Advanced Settings
The following settings are available for Document Mode.
In the Editing Page window you can add, rotate, move, or delete pages before you save the scanned image.
 - Selects all odd numbered pages.
 - Selects all even numbered pages.
 - Selects all pages.
 - Rotates the selected page 90 degrees counter-clockwise. You can rotate multiple pages at the same time.
 > - Rotates the selected page 90 degrees clockwise. You can rotate multiple pages at the same time.
 - Deletes the selected pages.
You can delete multiple pages at the same time.
You cannot delete all pages.
To delete all pages, click the Discard button.
Photo Mode
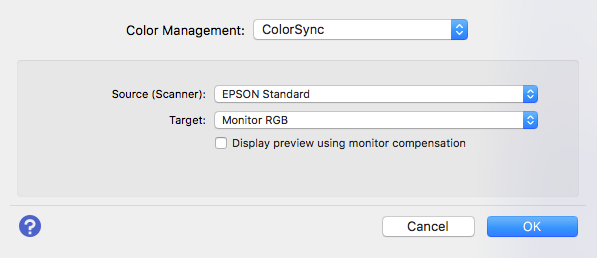
Color Management
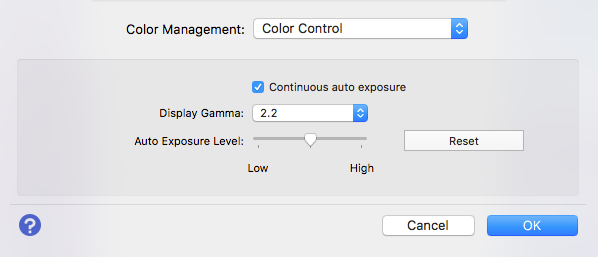
Select Color Management to apply colour correction to images while they are scanned.
Each Color Management method has individual settings shown below.
To apply no colour correction select None from the Color Management drop down menu.
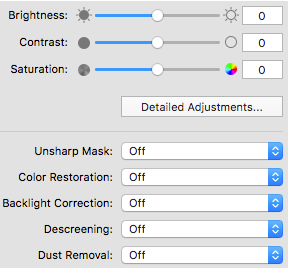
Advanced Settings
These advanced settings are available for photo mode.
Thumbnail Options
Image Format/Save Settings:
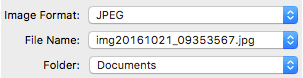
The following options are available in the Image Format drop down menu.
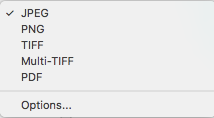
Selecting Options will allow you to edit advanced settings for each image format.
File Name
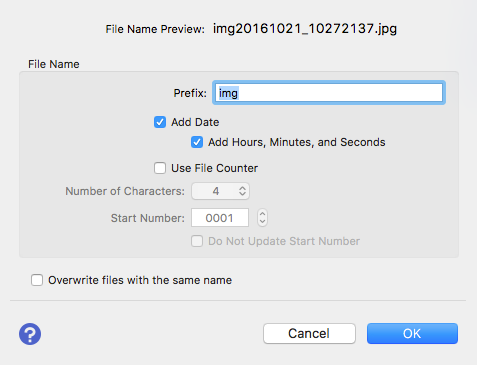
Selecting Settings from the the drop down menu allows you to change the file prefix.
Folder
You can select the save folder for the scanned image.
You can select:
Desktop
Pictures
Documents
To choose another folder click Select
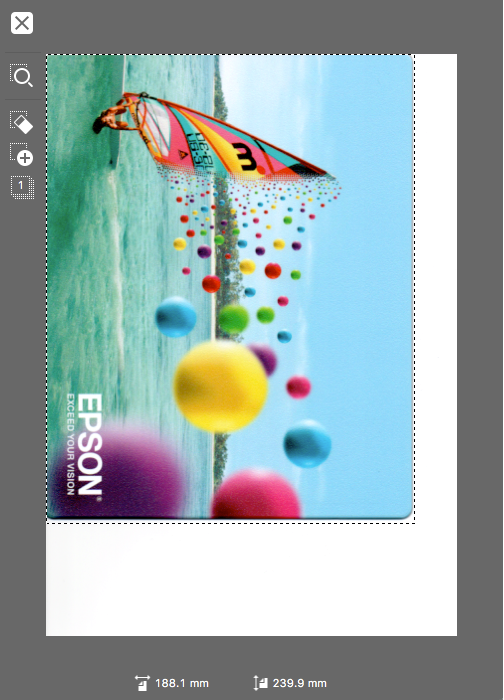
Preview
Once you have clicked Preview a preview scan is performed.
Once you have made a marquee selection on the preview scan, you can then use the following tools to edit the scanned image.
 - Close: This discards the current preview scan.
 - Zoom: This crops the scanned image to the selected area.
 - Remove Marquee: Removes the currently selected marquee.
 - Copy Marquee: Duplicates the currently selected marquee.
 - Select All Marquees: Selects all marquees in the preview window.
An example of the preview screen.
What is Correct Document Skew, what is it supposed to do?
Correct Document skew detects the skew of the original images and corrects them.
This is not shown in the scan preview as there is post scan processing carried out by the computer and the EpsonScan2 software.
What is Edge fill, what is it supposed to do?
Edge Fill corrects shadowing around the borders (the edges of the scanned document) by filling them with the selected colour (either black or white).
This is not shown in the scan preview as there is post scan processing carried out by the computer and the EpsonScan2 software.
How do you specify a different destination/folder for scanned images?
Under folder selection you have 4 options
- My Documents
- My Pictures
- Desktop
- Select
Select option 4 and browse to the location you wish to save your scans to.